Thursday, January 25, 2018

Some spring sewing - Two blouses from the At Every Angle pattern

Referring to the At Every Angle Cutting Line Designs pattern with two interesting tops that can be shirts or jackets, depending on the fabrics used.     I was dithering about which fabric to use for view A, so I decided to make some coordinates that would work with my neutral berry bottoms. 

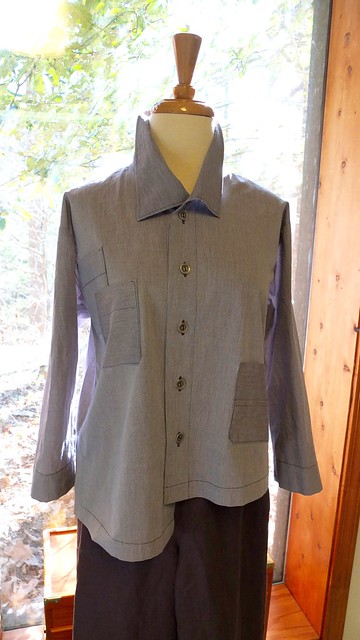
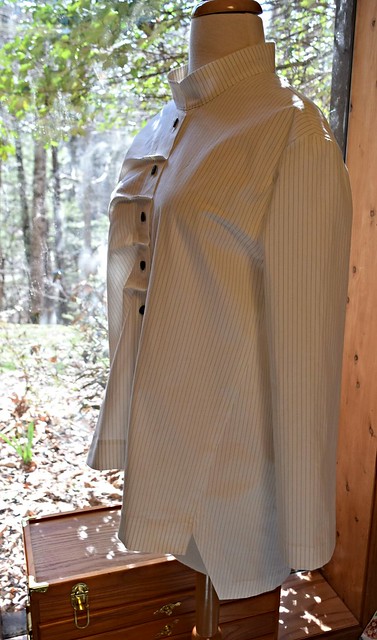
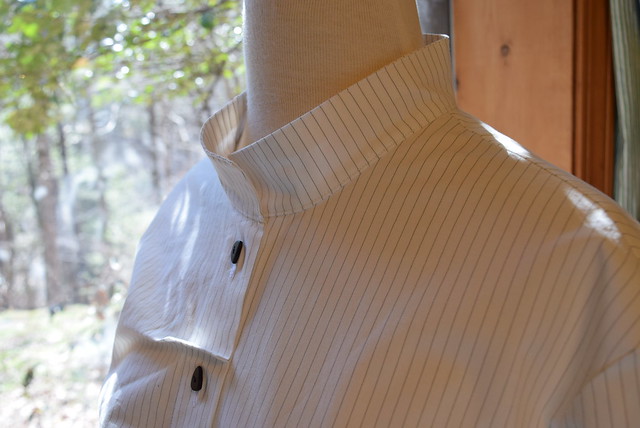
First up is a soft cotton cross dye shirting with mulberry and cream threads woven to create narrow purple stripes on a gray-ish background.  It has an 11" border of more compact stripes that make it look darker.    I cut the collar, the large patch pocket and put the front sides facings on the darker border portion for contrast.   


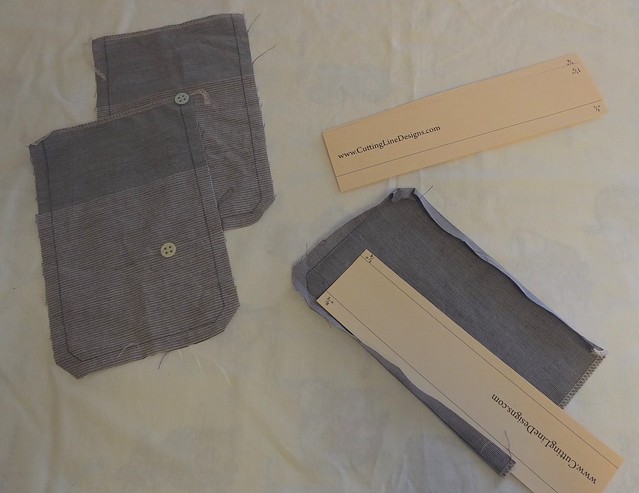
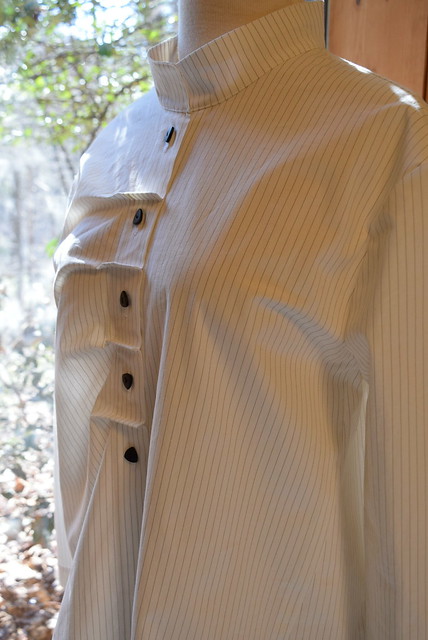
Based on the finished measurements and how I like my shirts like this to fit, I cut the XS size.   I always compare patterns to others I wear and buy.    I did not make any alterations to this pattern.    I also cut and sewed on the large patch pocket shown in the pattern.    Once it was finished, I  decided the proportions were off, given the size I made, and removed the large pocket.    I remembered how much I liked the smaller pockets on my CLD Just My Style tops, so I cut out three of them and determined the placement.   

I then followed the instructions for stay stitching and pressing templates to ensure a professional look. 


Here is the final result with the three smaller pockets.  The one on the lower left is sewn on straight, but the angle of the photo and the drape of the soft shirting makes it look crooked, noting that Terri doesn't do "crooked".   Those are thin 5/8" pewter color metal buttons.   The wide-leg linen pants are from last spring/summer's collection by a company called Kleen.  I love the overall asymmetry of this top, the asymmetrical stand-up collar, and how the length and shape of this top works with this pant style.   

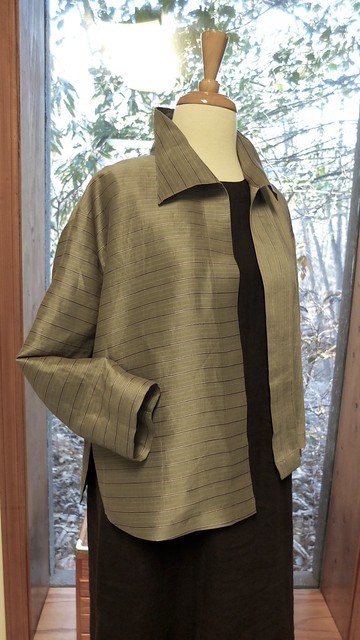
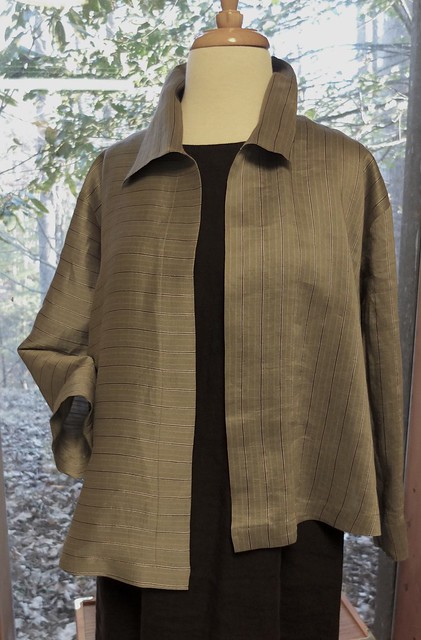
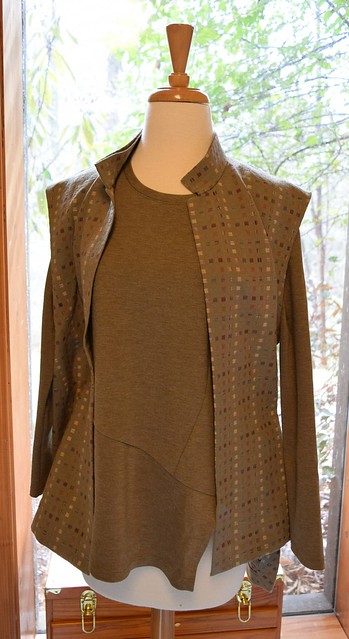
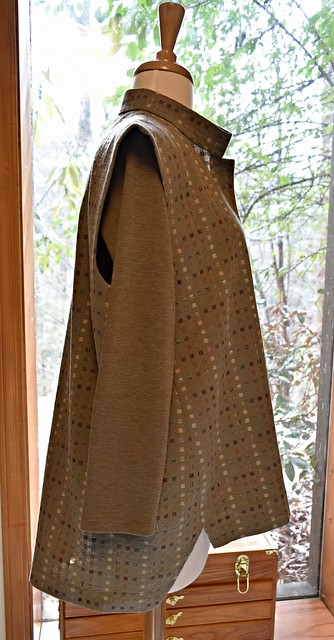
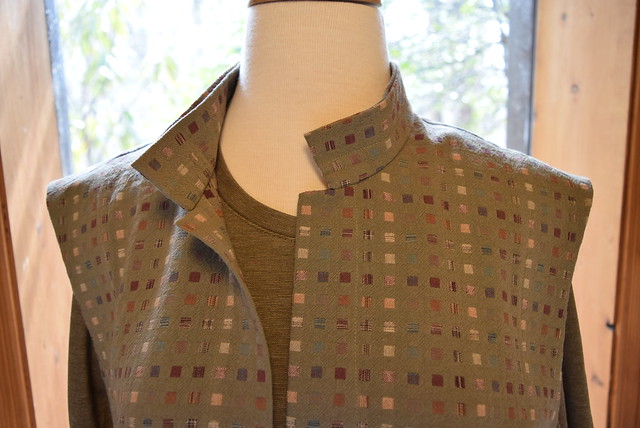
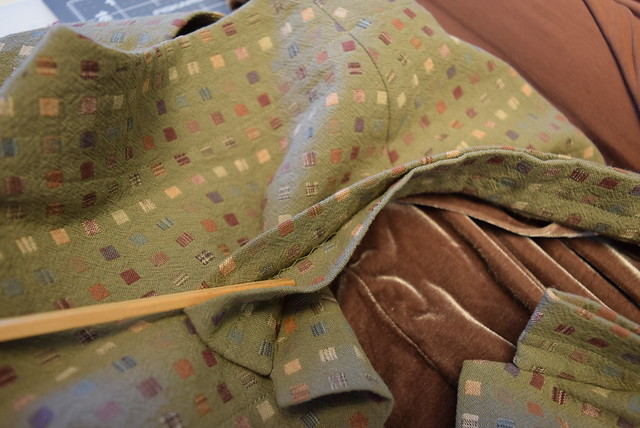
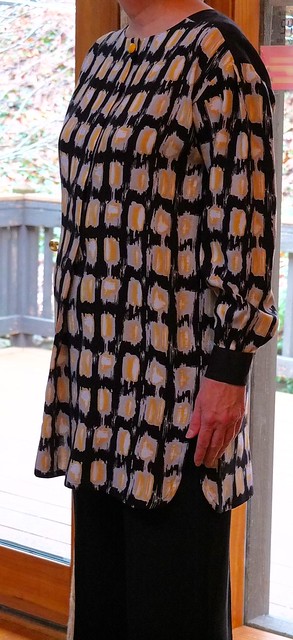
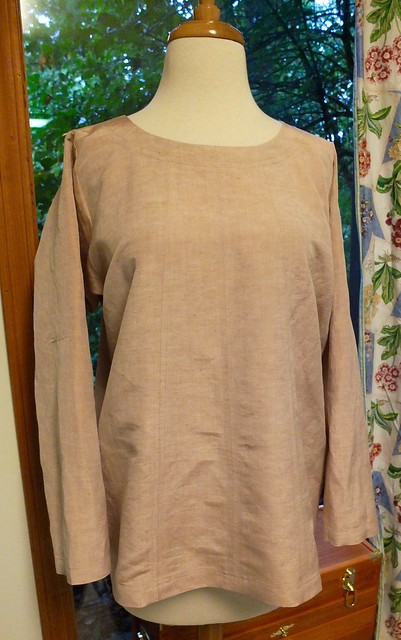
Next is the same view B shirt in a taupe silk organza with a dark berry woven stripe.   The cotton shirting stripes aren't as prominant and I wanted to play with the stripes in this fabric.  It's easy with this pattern because there are 4 individual front/back pieces that you cut fabric face up.  Everything is the same on this top except that the stripes run horizontally on the right front and back, to include the sleeve, and vertically on the left side.   I cut the collar with the stripe running down the piece.  Silk organza is a challenging fabric to cut, sew and press,  especially with a woven in stripe.   I cut, and used narrow strips of very light steam a seam from a sheet of SaS before I top-stitched the facings and hems.    Because of the crisp nature of the fabric, I decided against pockets that would make the fronts stiff.   The organza is semi sheer so this was intended to be layered over another top or dress like I show here.   As such, I eliminated the buttonholes and buttons.   

More photos in the At Every Angle album on my Flickr photo site 


Friday, May 26, 2017

May Sewing: More red and white seersucker coordinates
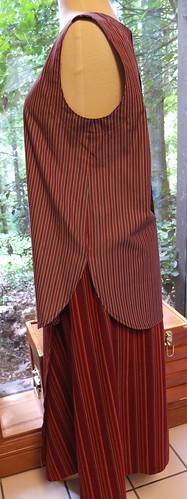
Is there anything better than classic cotton seersucker in the summer?   The only thing better is cotton seersucker with lycra like what I've used for these garments.  


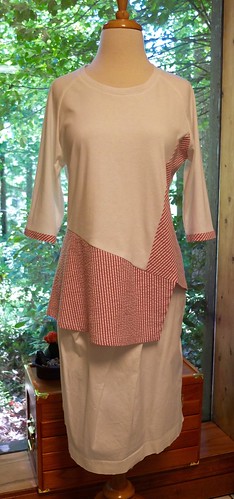
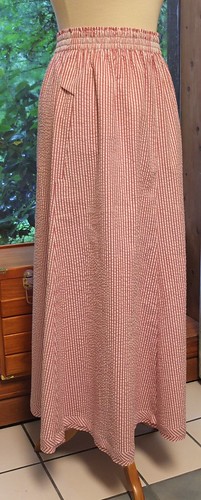
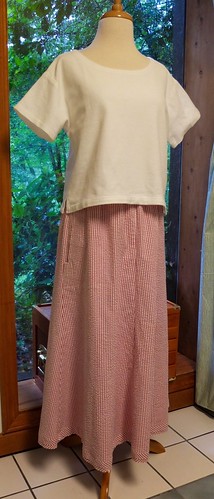
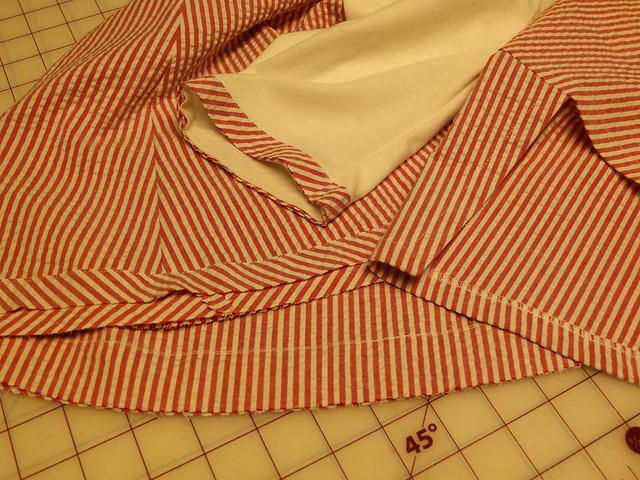
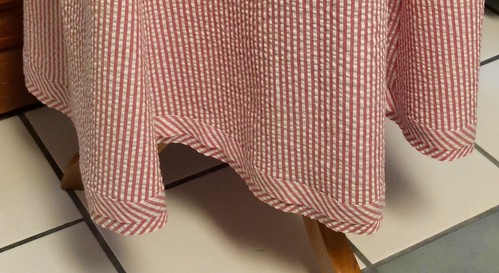
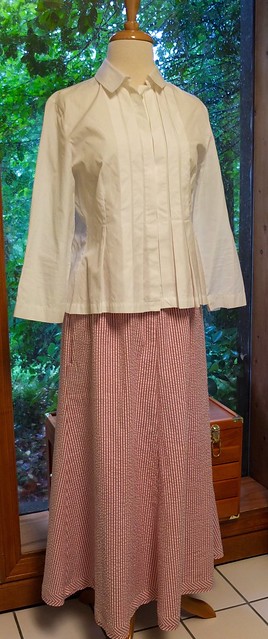
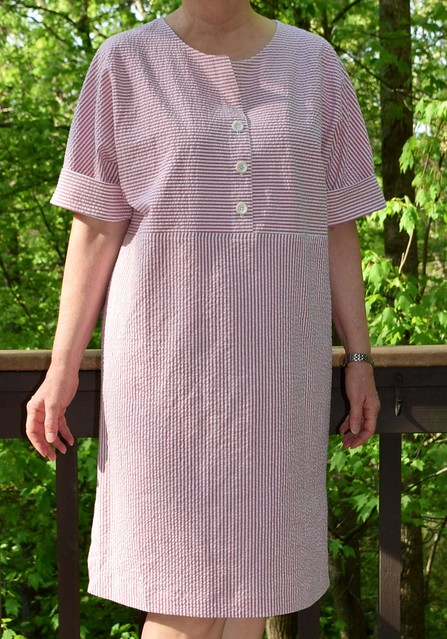
I like wearing updated classics, so the pullover shirtdress that you've already seen was first up, then I wanted a skirt or culottes of some sort.    I decided to make another long swooshy skirt from the 4 gore Relax a Little pattern that I've used many times.   This one has Louise Cutting's signature pockets from a previous skirt pattern.  I added a neat bias treatment at the hem because I like to play around with stripes.  


Odette top from Sewing Workshop pattern
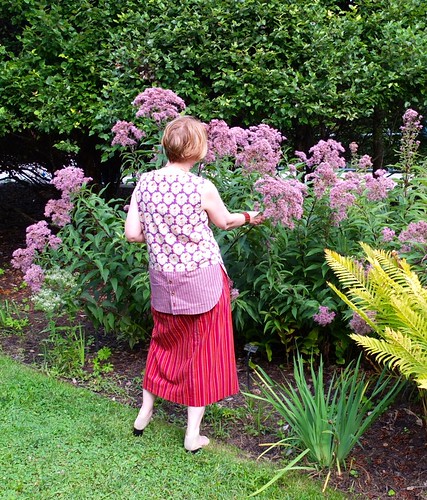
Skirt from Relax a Little pattern
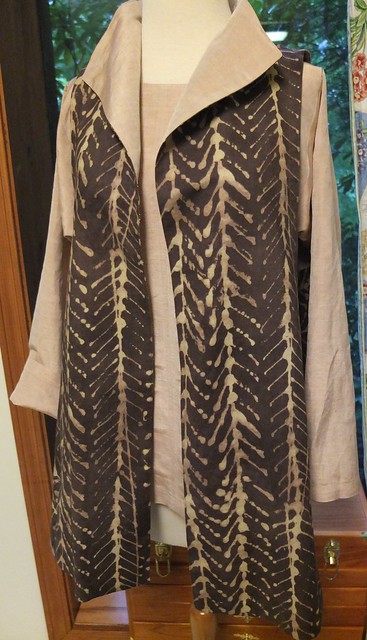
by Cutting Line Designs
Knit top using the Anything But Ordinary pattern
over the RAL skirt


Detail of hems and hem finishes 

These pieces coordinate nicely with my white cotton blouses and tops plus I made another top using the Sewing Workshop Odette pattern for knits with a white cotton knit and some remnants left over from the dress and skirt.   The cotton/lycra stripe worked well in the portions of knit top I substituted it for.  I also used the bias at the sleeve hems.   I doubt I will wear the top with the skirt but it looks great with white skirts and pants.  I wore the RAL skirt with this Akris pleated top to an al fresco lunch and a business meeting this afternoon and it was great for the perfect 70's weather and the first sunny day we've had in a week!   I was too busy for photos of it on me today.  But you can see how the skirt and top fits in the Flickr album photos.


Note:  Martha asked a good question about sewing and pressing on seersucker.    I'm replying here because I tried twice to post a reply below in Google and it vaporized. 

Depending on the grain, seersucker needs a little care in terms of the top and bottom layers wanting to shift while sewing.   Seems must be pinned together carefully, and care taken for edge stitching.   I've not needed a differential feed setting when serging, and use a cotton or wool with a light steam setting on my old Rowenta iron.   I use an old linen damask table napkin as a press cloth.  Pressing didn't smash the puckers - note that seersucker is often used for classic men's summer jackets and slacks, and oh how the cleaners press them!   I didn't use a press cloth pressing seams or the hems/bias stripes that I also used manilla templates for.    I always make samples with the smaller cut pieces to see how the fabric is going to behave before I sew a garment.  The lycra in this didn't affect the pressing.  


Friday, May 12, 2017

A Capsule Wardrobe in Shades of Red

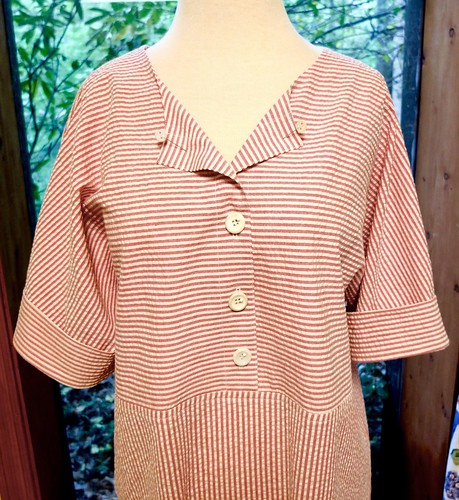
Everybody loves a capsule wardrobe.   I don't wear a lot of red, but the reds I choose are muted reds and those in the mulberry range.   I just finished this dress that is a pattern hack using two Cutting Line Design patterns, each that I've made several times.   This time I wanted the cut-on sleeve with cuff look of the Simplify Your Life top pattern and the button front of the Ebb blouse pattern.    So I made my own changes to that pattern and here is the resulting dress in a muted red with white seersucker.  I posted photos of changes and details on Flickr albums.


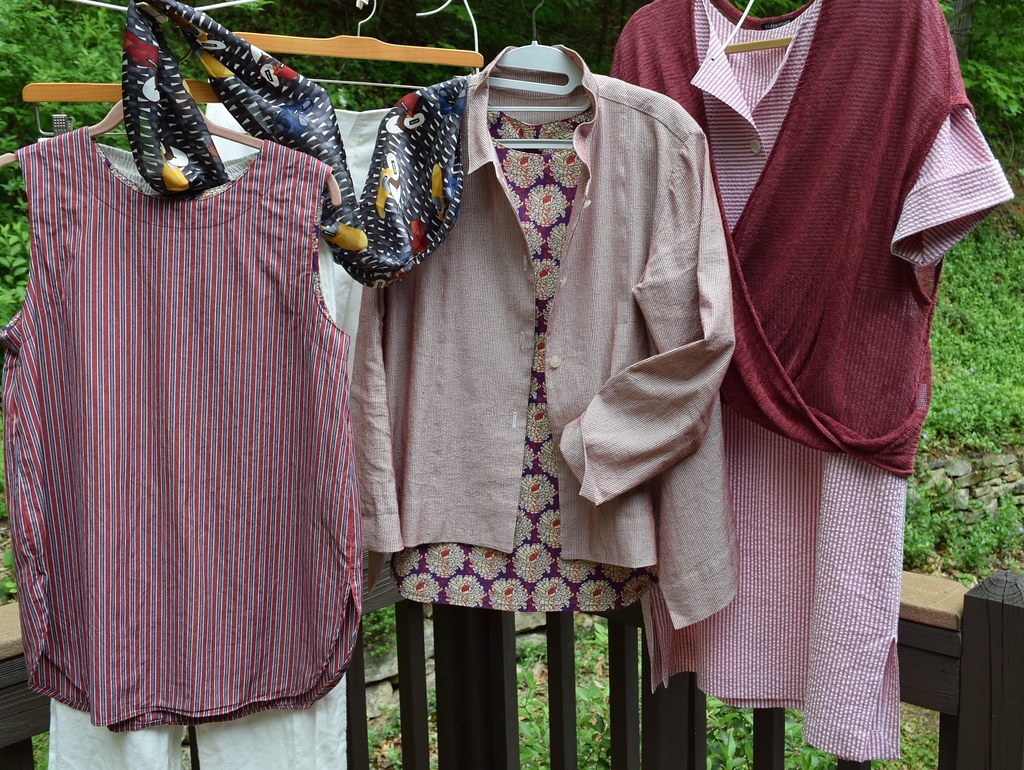
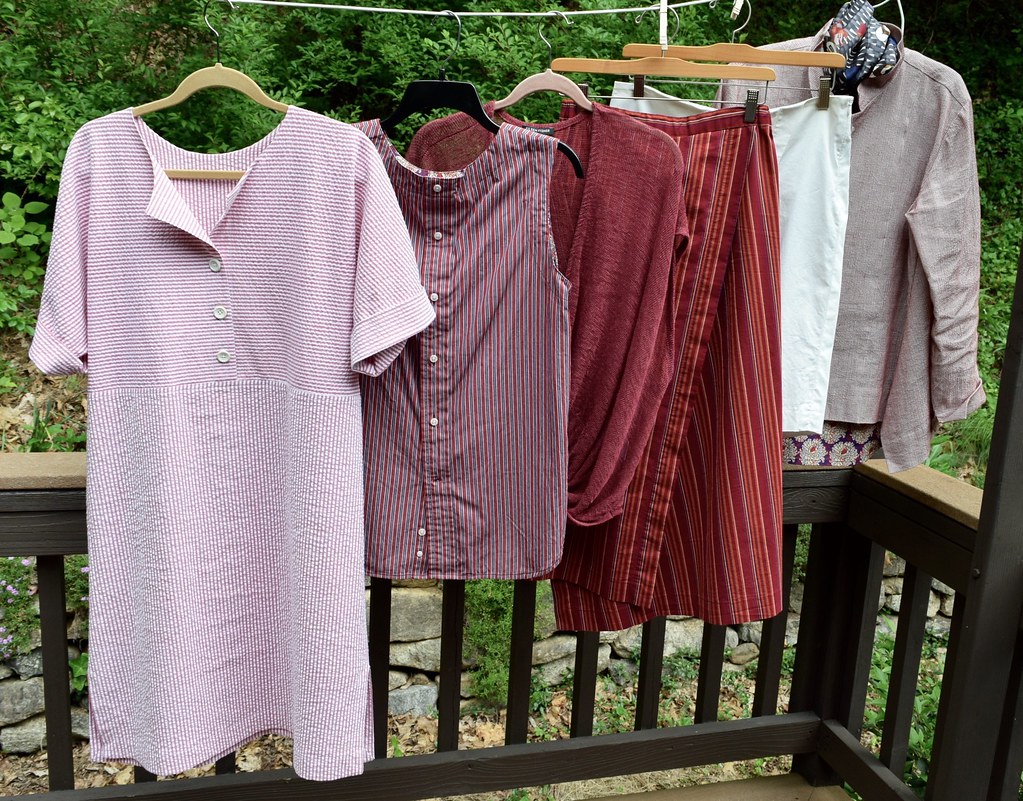
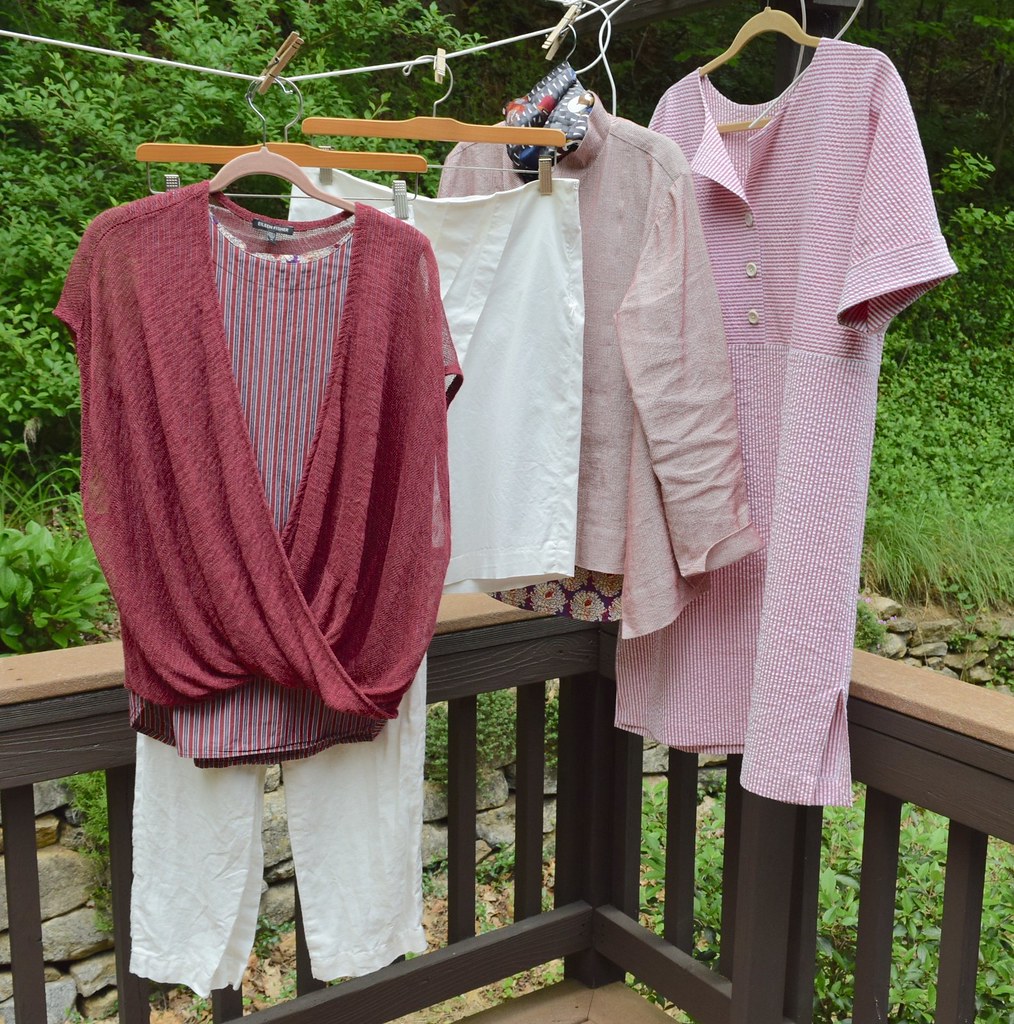
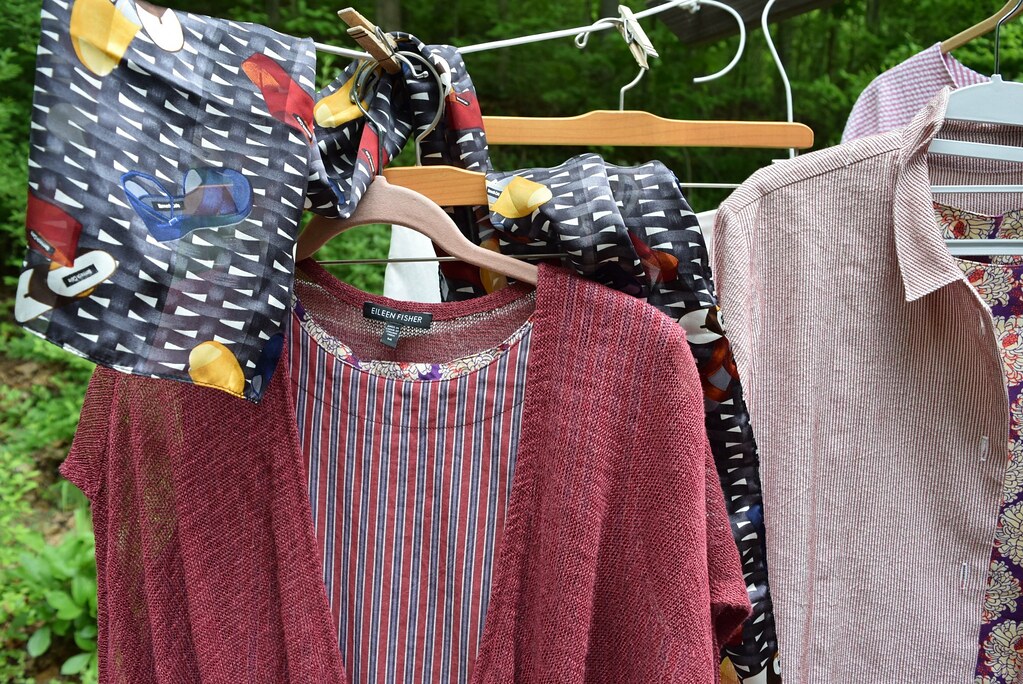
My garments are hung in coordinating groups so I can select and wear coordinates for a day, or pull out a capsule for a trip.   This capsule includes that dress, two sleeveless tops from the Danger Curves Ahead pattern, a muted red and white Liberty jacket in a vertically textured cotton, a white Gunex asymmetrically pleated skirt and white linen pants.   Adding more colors, there's a striped cotton Shapes Six Sense skirt in reds/orange and a stripe of purple that goes well with the two DCA tops.   I included a silk scarf in a denim blue background with colorful shoe motifs that I can wear with the Liberty jacket on its own.    I love the way this all works together!


Wednesday, February 24, 2016

Cutting Line Designs: A Shirt and Vest using the "Just A Pinch" pattern

I'm on autoship for Cutting Line Design patterns, but my pattern must have done the round the country route to get to me here in Asheville, NC from Winter Park FL.  It finally arrived Saturday, but in anticipation, I had my fabric for my first "wearable muslin" already prepped and ready to go.    Having already seen the finished measurements, and comparing them to other similar blouses and vests with the wearing and design ease I like, I went to town.     I read the instructions twice and there are many unique techniques for both views.    I always do the prep work as a unit for all pieces, clipping, marking, template pressing, interfacing and serging the edges if called for.   Note that the hem width on the front and the back pieces is different and the collar construction is so unique that I've not seen it done anywhere else.   


For this blouse with the front tucks (hence the name "Pinch") I used a menswear pinstripe, cotton/lycra shirting made for Tom Ford that I bought from Michael's Fabrics in Baltimore.   You can never go wrong using high quality fabric, and I don't waste my time on anything else.   The quality of the finished garment is comparable with high end ready-to-wear shirts and blouses by the houses of Anne Fontaine and PLANET.   They are timeless and elegant, like this style.   I've been fortunate to buy a few Anne Fontaine (AF) blouses on sale or at consignment shops, and included some photos of one for comparison on the Flickr album.   The collar on the AF blouse I put some photos on Flickr to compare is similar in what you will achieve using Louise Cutting and Sandra Miller's detailed instructions.     


On to the vest.    I used a unique Japanese cotton.   I bought this one because of all the great colors that are not only "my colors" but go with many other things I own and have sewn.     The collars and fronts of the two garments are interchangeable, so I may use the vest collar on the next blouse/shirt I make.   I veered from the collar instructions and catch-stitched the double collar in the center to hold it, but not squash the beauty of the double collar.    The ponte knit top shown under the vest is the Odette top from The Sewing Workshop pattern.    You can see several variations of that top/pattern in my Odette Flickr album.


Not only do I enjoy the journey of creating these great pieces, I take great pride in wearing them.   Enjoy yours and the many photos of these on the "Just A Pinch" Flickr Album. 

Wednesday, February 3, 2016

A Tunic and a Wide-leg Pant


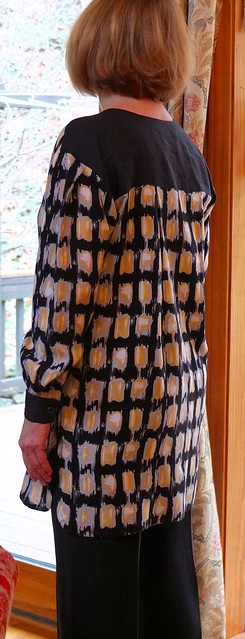
Here is the Cutting Line Designs tunic from the Danger Curves Ahead pattern that I finished in January.   It's a very drapy rayon challis print with black handkerchief linen contrast and facings.    The challis presented more of a challenge than if I had chosen a more stable fabric.   Reminder -  measure the cuff pattern pieces for the size you intend to make.  I cut the size small for this pattern,  and, even with buttonholes and buttons on a scant 3/8" from the edge, they have little ease.  I took photos of all the details which are on my Flickr photos and the album for this pattern.  Here is the tunic worn with a pair of 4-ply silk One Seam pants.


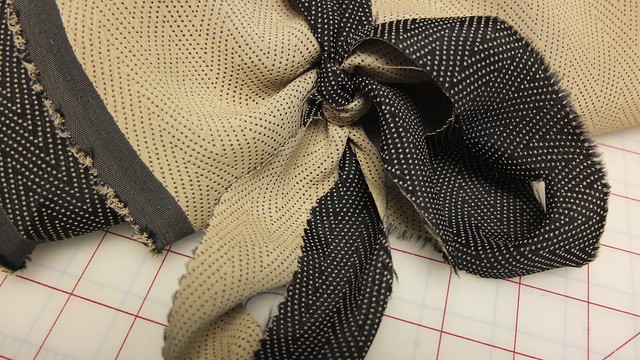
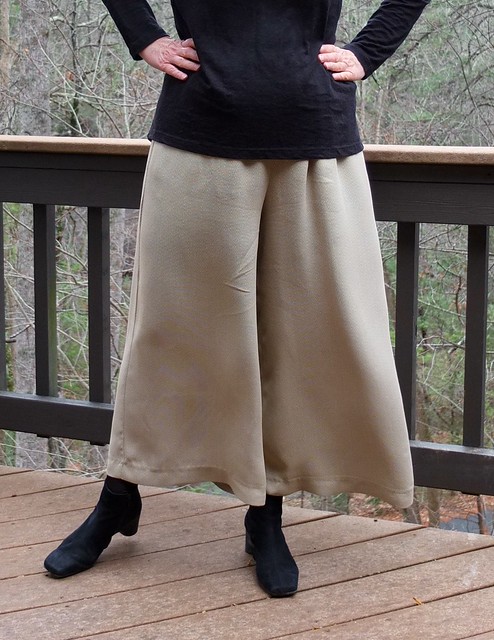
I cropped a pair of Loes Hinse Hepburn wide-leg pants that I didn't wear much last year, and I liked them better.  So after I finished the Cutting Line Designs tunic from the Danger Curves Ahead pattern,  I sewed up a pair of the West End pants from the pattern by The Sewing Workshop.   I had the pattern but hadn't sewn either the jacket or the wide-leg pants that are included.   So, here they are in the same double spring/summer weight double sided/textured fabric I used for some coordinates in this Tan/Black Coordinates Group Flickr Album.    You need a fabric like this with lots of drape, and plenty of ease to pull off this look, plus it's important to wear some shoes or boots with a bit of a heel.  Here's a "selfie" taken in the mirror in my sewing room and the other is outside on the deck in the wind!   Those are Arche nubuck ankle boots from the Mustard Seed boutique in Bethesda MD that is owned by my step-son, Derek.  Go see them if you're in the neighborhood.  You'll come away with some fantastic finds!


Texture and colors of fabric used for West End Pant


Tuesday, January 26, 2016

Three Bristol Dresses


I bought the Bristol Dress/Top pattern at The Sewing Workshop's booth when I attended the Sewing and Stitchery Expo in Puyallup WA in 2015.  The TSW ladies were wearing theirs in various knits.  It's a cozy, casual and stylish dress for laying, which you have to do in Puyallup in February, and fall/winter months here in Asheville, NC.  I had inspiration overload when I returned and my sights on spring when I got home with lots of snow on the ground when I left, and more when I returned.   Here are photos of the 3 Bristol dresses I sewed up while it snowed last week, and I'm still playing!

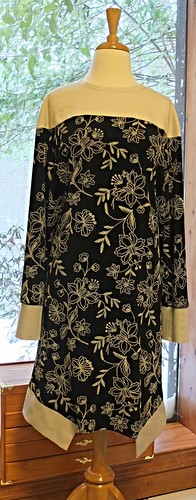
This pattern, like the TSW Odette top pattern that I have sewn several of,  allows one to treat your fabric like a puzzle that I enjoy.  So, like the Odette top, I made several of these and will probably sew up more.   It's a fun, Anthropologie like style that is very adaptable, depending on the knit you use.    I used a novelty overprinted slinky for the body and sleeves of my first one.  I planned to use a black ponte knit for the contrast, but decided it was too much "black", instead used the beige stretch pique, picking up the color of the floral motifs.  It's the same pique I used to make this Cutting Line Designs Pure and Simple jacket.  One of my friends remarked that the black floral slinky dress has a Downton Abby vibe.  

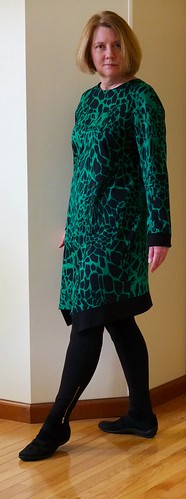
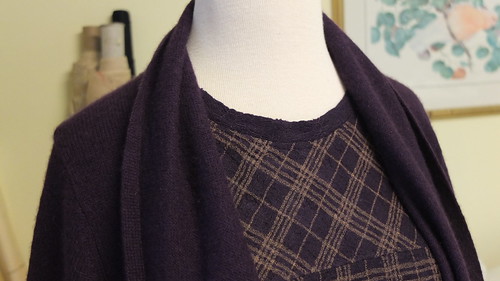
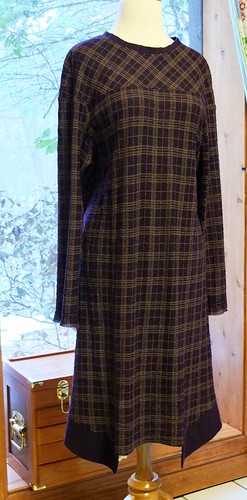
The second one is in an emerald green/black ponte knit from Fabric Mart with black matte jersey contrast hem bands and cuffs.   It's a showstopper!  The mulberry one below is in the same puckery/lacy knit that I used for a long skirt and a Eureka top.  This time I cut the yoke on the bias and stablized the yoke/body seam with the fusible knit stabilizer tape.   It coordinates with those, and many other  Berry and Chocolate Coordinates I've sewn. 

In terms of construction,  I found that a 4 thread serged seam worked best for the body, sleeve and yoke seams.   I used fusible tricot knit stay tape for the yokes and other areas that needed it.   You can eliminate the cuff if you want to.   I cut the sleeves for the mulberry one on the interesting ruffled selvedge.  

This is a great pattern to play with and use remnants that are just too good to toss!   I've uploaded many more photos of these to my Bristol Dress Flickr album.    I'm always up to something in the sewing chamber, but am a lazy blogger.   If you want to see what I'm up to, and get some inspiration to sew your own, just check my Flickr photos.

Monday, November 2, 2015

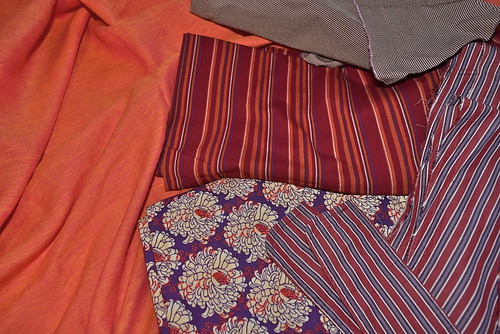
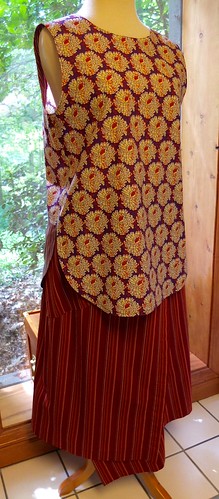
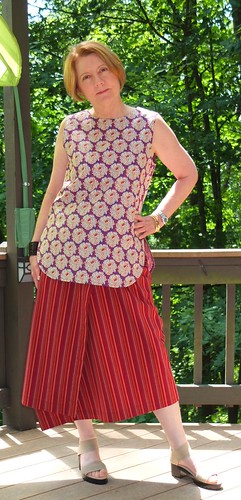
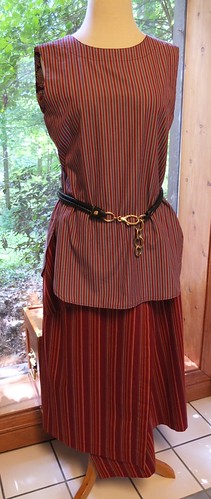
More Berry Coordinates


Here are some coordinates I created over the last couple months using the fabric palettes above.  First up are two tops I made using the Danger, Curves Ahead pattern from Cutting Line Designs worn over the Shapes Six Sense skirt I made a few years ago.  This pattern includes instructions for a technique to get the finest curved, narrow hem.  You can see details of the hem, plus how I made these tops using the coordinating fabrics, including a large size, high quality mens shirt in the Flickr Album.


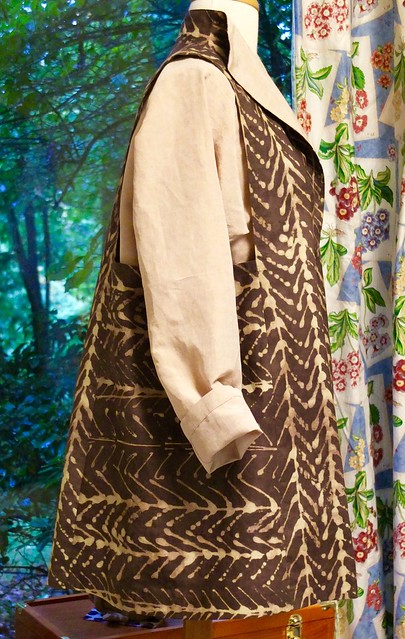
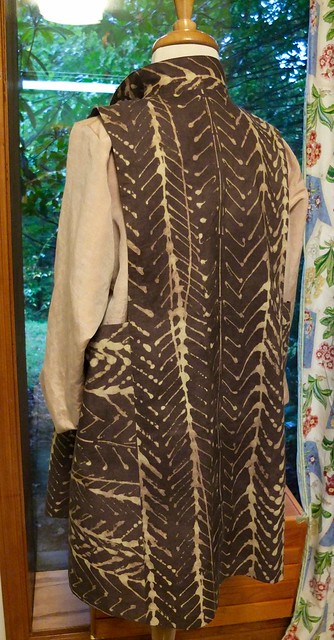
Here is my modification of the A New Dimension jacket and a top from the Just My Style pattern.   For the jacket mod, all I did was fold back/remove the sleeves on the front and back side/sleeve pieces.   I then created one pattern piece from those two pieces that is now the side piece.  You can see how I did it in my Flickr Album for the A New Dimension pattern.


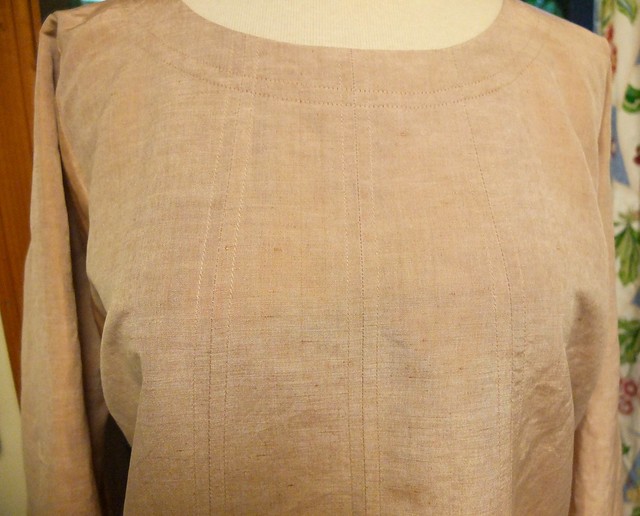
Here is the now sleeveless jacket/vest worn over another Cutting Line Designs pattern,  the Just My Style top view B in a silk/linen blend.   I used that fabric for the front facings.   I love wearing these warm neutral colors that look great with brown and other berry coordinates.